

Most local businesses put all their effort into Google and forget that Bing runs its own business listings. Bing Places for Business is free, and setting it up properly takes an afternoon. Here is how it works, step by step — including the rules that catch out service-area businesses.
Bing builds its local listings from many sources, and Bing Places is the one you control. If you don’t claim your listing, Bing may still show your business using whatever information it has gathered elsewhere — which may be out of date. Claiming it lets you make sure your name, phone number, website and hours are correct.
Before you start: what you need
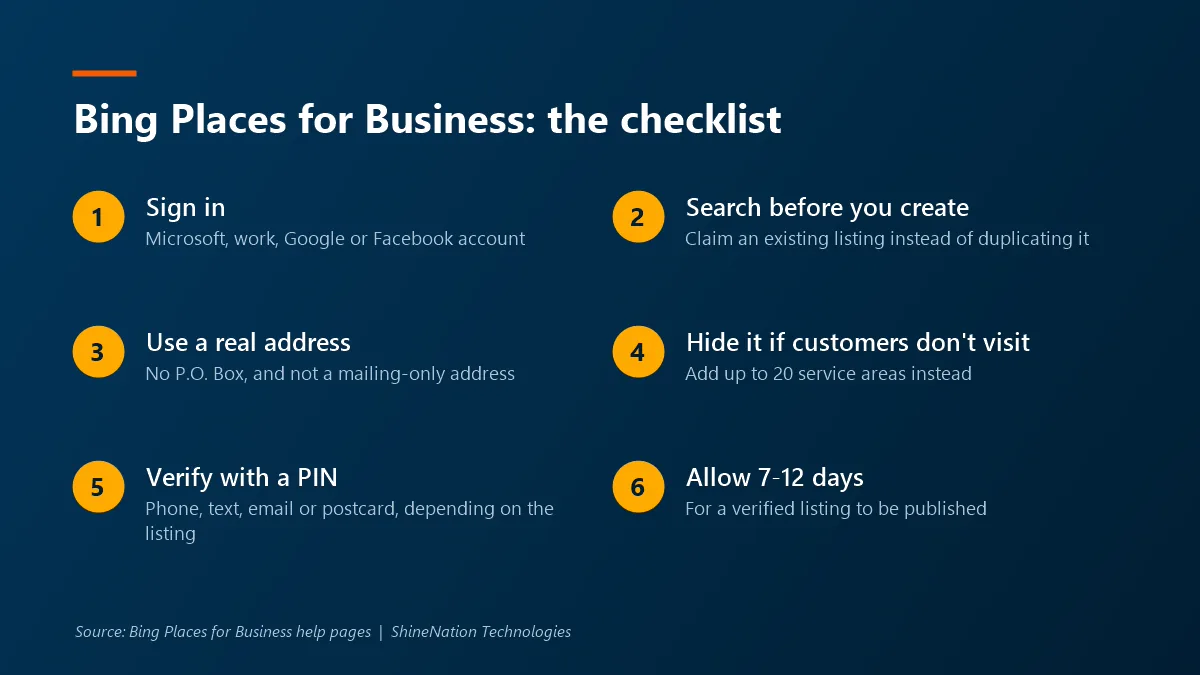
- A sign-in account. Bing Places accepts a Microsoft account, a work account, or a Google or Facebook login. Any listing you create is tied to the account you use, so use one the business will keep.
- Your business name exactly as customers know it.
- A real business address. More on this below — it is the rule that matters most.
- A working business phone number that is yours, not a partner’s or reseller’s.
- Your category, website, hours and, if you like, photos (up to 100).
Step 1: Search before you create anything
Bing asks you to search for your business first. If a listing already exists and nobody has claimed it, claim it rather than creating a new one. If none exists, choose to create a new business. Creating a second listing for the same business leads to duplicates, and Bing’s help pages note that a listing marked as a duplicate can’t be edited.
Step 2: Get the address rules right
This is where service businesses most often go wrong. According to Bing’s data quality guidelines and FAQ:
- An address is required for every listing, including businesses without a storefront.
- You cannot use a P.O. Box.
- A mailing address you don’t operate from can’t be used in your profile.
- Service businesses can hide their address. If customers don’t come to you — plumbers, electricians, tutors, consultants — you can hide the address so it doesn’t appear on your public listing. Bing still keeps it internally for verification.
To hide it, edit your listing, go to Basic details, and answer the question “Are customers expected to visit your address?” You can then add service areas instead — Bing allows up to 20.
Step 3: Fill in the rest of your listing
- Business name: use your real name. Bing says not to add descriptors like “best” or “cheap” unless they are legally part of the name, and it may discard keywords stuffed into a name.
- Category: pick the one that genuinely describes what you do.
- Website: link to your own business website. Bing says social profiles shouldn’t be used as your main website — add them in the social profiles section instead.
- Hours: you can enter up to two time slots per day.
- Photos: optional, but they help customers recognise you.
Step 4: Verify your listing
Nothing you enter goes live until the listing is verified. Bing sends a PIN, and depending on your listing it may offer phone, text, email or a postcard. A few details worth knowing:
- Phone verification is only offered when an existing listing already shows your business phone number and it hasn’t been edited.
- Postcards typically take 5–6 business days to arrive in the US and can take up to 12. If your mail goes somewhere other than your listed address, choose another method where one is offered.
- Use the same account to enter the PIN that requested it.
Step 5: Be patient after verification
Bing says a verified listing usually takes 7–12 calendar days to be published. Making lots of edits while it is processing can delay it, so enter everything carefully once and then wait for the publishing cycle to finish.
Already have a Google Business Profile?
Bing Places can import listings from Google. Be aware of how this works: when a listing is matched, Bing uses the Google data to overwrite what is in Bing Places, and Bing notes that automatic imports can create duplicates. Check the result after importing. If your Google profile isn’t set up correctly yet, fix that first — our Google Business Profile guide for service-area businesses covers the equivalent rules.
Keep your details consistent everywhere
Bing’s own advice is to keep business details current across the web, including review sites, other map platforms and social media. In practice that means your business name, phone number and website should read exactly the same on Bing, Google, your website and any directory you are listed in. If you move, Bing recommends creating a new listing and marking the old one as closed, rather than editing the old listing’s address.
Want a second pair of eyes on your listings?
We can check your Bing and Google listings against each platform’s guidelines — address settings, categories, name and consistency — and tell you what needs fixing before it causes problems.